AdGuard VPN v2.0.7 for iOS: custom encrypted DNS servers and integration with AdGuard DNS
In this version we've implemented two new features, updated native libraries, and made minor changes related to detecting the presence or absence of the network when the VPN is connected.
Add custom encrypted DNS servers
Earlier there were only a few custom DNS services by Cloudflare, Quad9, and others — not much to go on. Now you are not limited to a few presets. Not only can you specify custom regular plain DNS servers but also encrypted ones: DNS-over-HTTPS, DNS-over-TLS, and DNS-over-QUIC. If your favorite DNS server isn't on the list of suggested ones, just add it manually! Or even set up your own one.
Choosing a reliable encrypted DNS server is a big deal. If you ask us, we recommend AdGuard DNS public servers.
Set up integration with AdGuard DNS
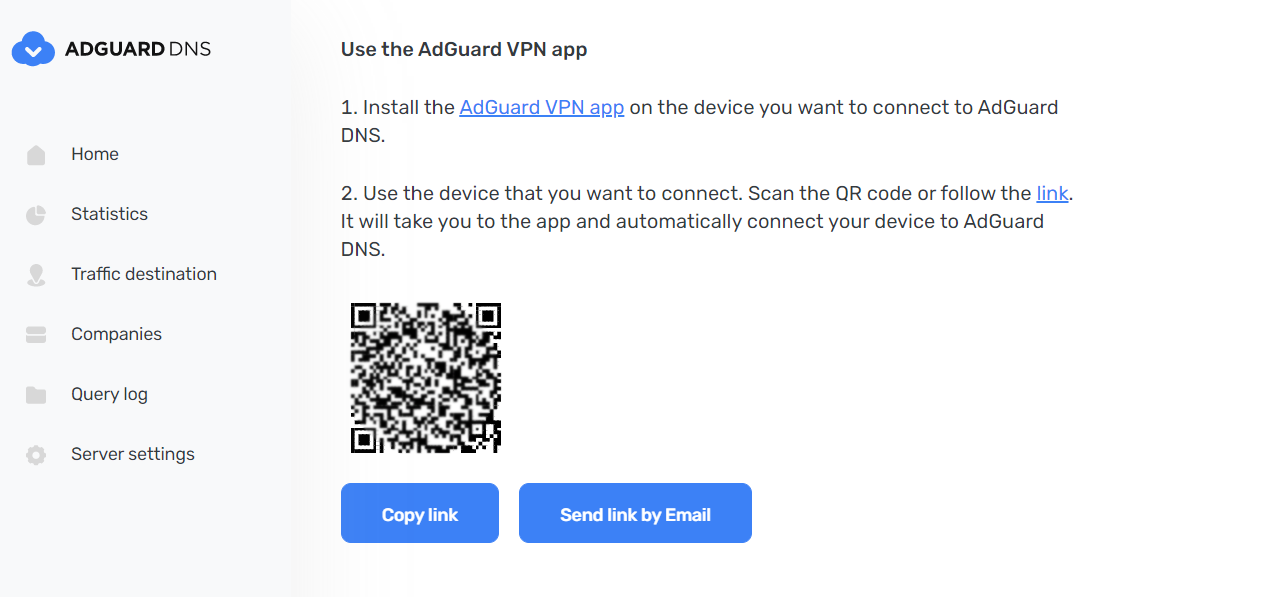
The encrypted server functionality allows you to use AdGuard VPN with AdGuard DNS — in v2.0.7 we introduced their integration. In a few steps you can add a new device, connect it to AdGuard DNS and add your server to the AdGuard VPN app.
- Log in to your account on the AdGuard DNS website (you don't need to create a new one, one account is used for all AdGuard products).
- Connect your iOS device.

- Connect it to AdGuard DNS in one of two ways:
- Via QR code. Scan the QR code using your iOS device — the AdGuard VPN with the added DNS server will open. Ready!
- Manually. This way is a bit more complicated, but it still won't take long:
- Copy the address of the encrypted DNS server you're going to use: DNS-over-HTTPS, DNS-over-TLS, or DNS-over-QUIC.
- Open AdGuard VPN for iOS → App settings → DNS server → Add a custom DNS server. Enter the server name, paste the copied address and tap Save and select.
That's it!
The version history is available on the AdGuard VPN official website. Update the app, set up integration with AdGuard DNS, and stay anonymous on the web.


