Features overview
Main screen
The main screen reflects the VPN status (Connected/Disconnected). There are also the Connect/Disconnect button and a list of available servers.
Each server has its location and its ping rate, describing the response time of the server. The lower this rate, the faster the connection. The fastest servers always appear at the top of the list that consists of more than 50 locations in dozens of countries. You can connect to the fastest server by tapping the Connect button or by picking a location.
Exclusions
Exclusion lists allow you to manage the VPN connection for specific websites and apps. To access Exclusions, tap the second icon from the left at the bottom of the screen.
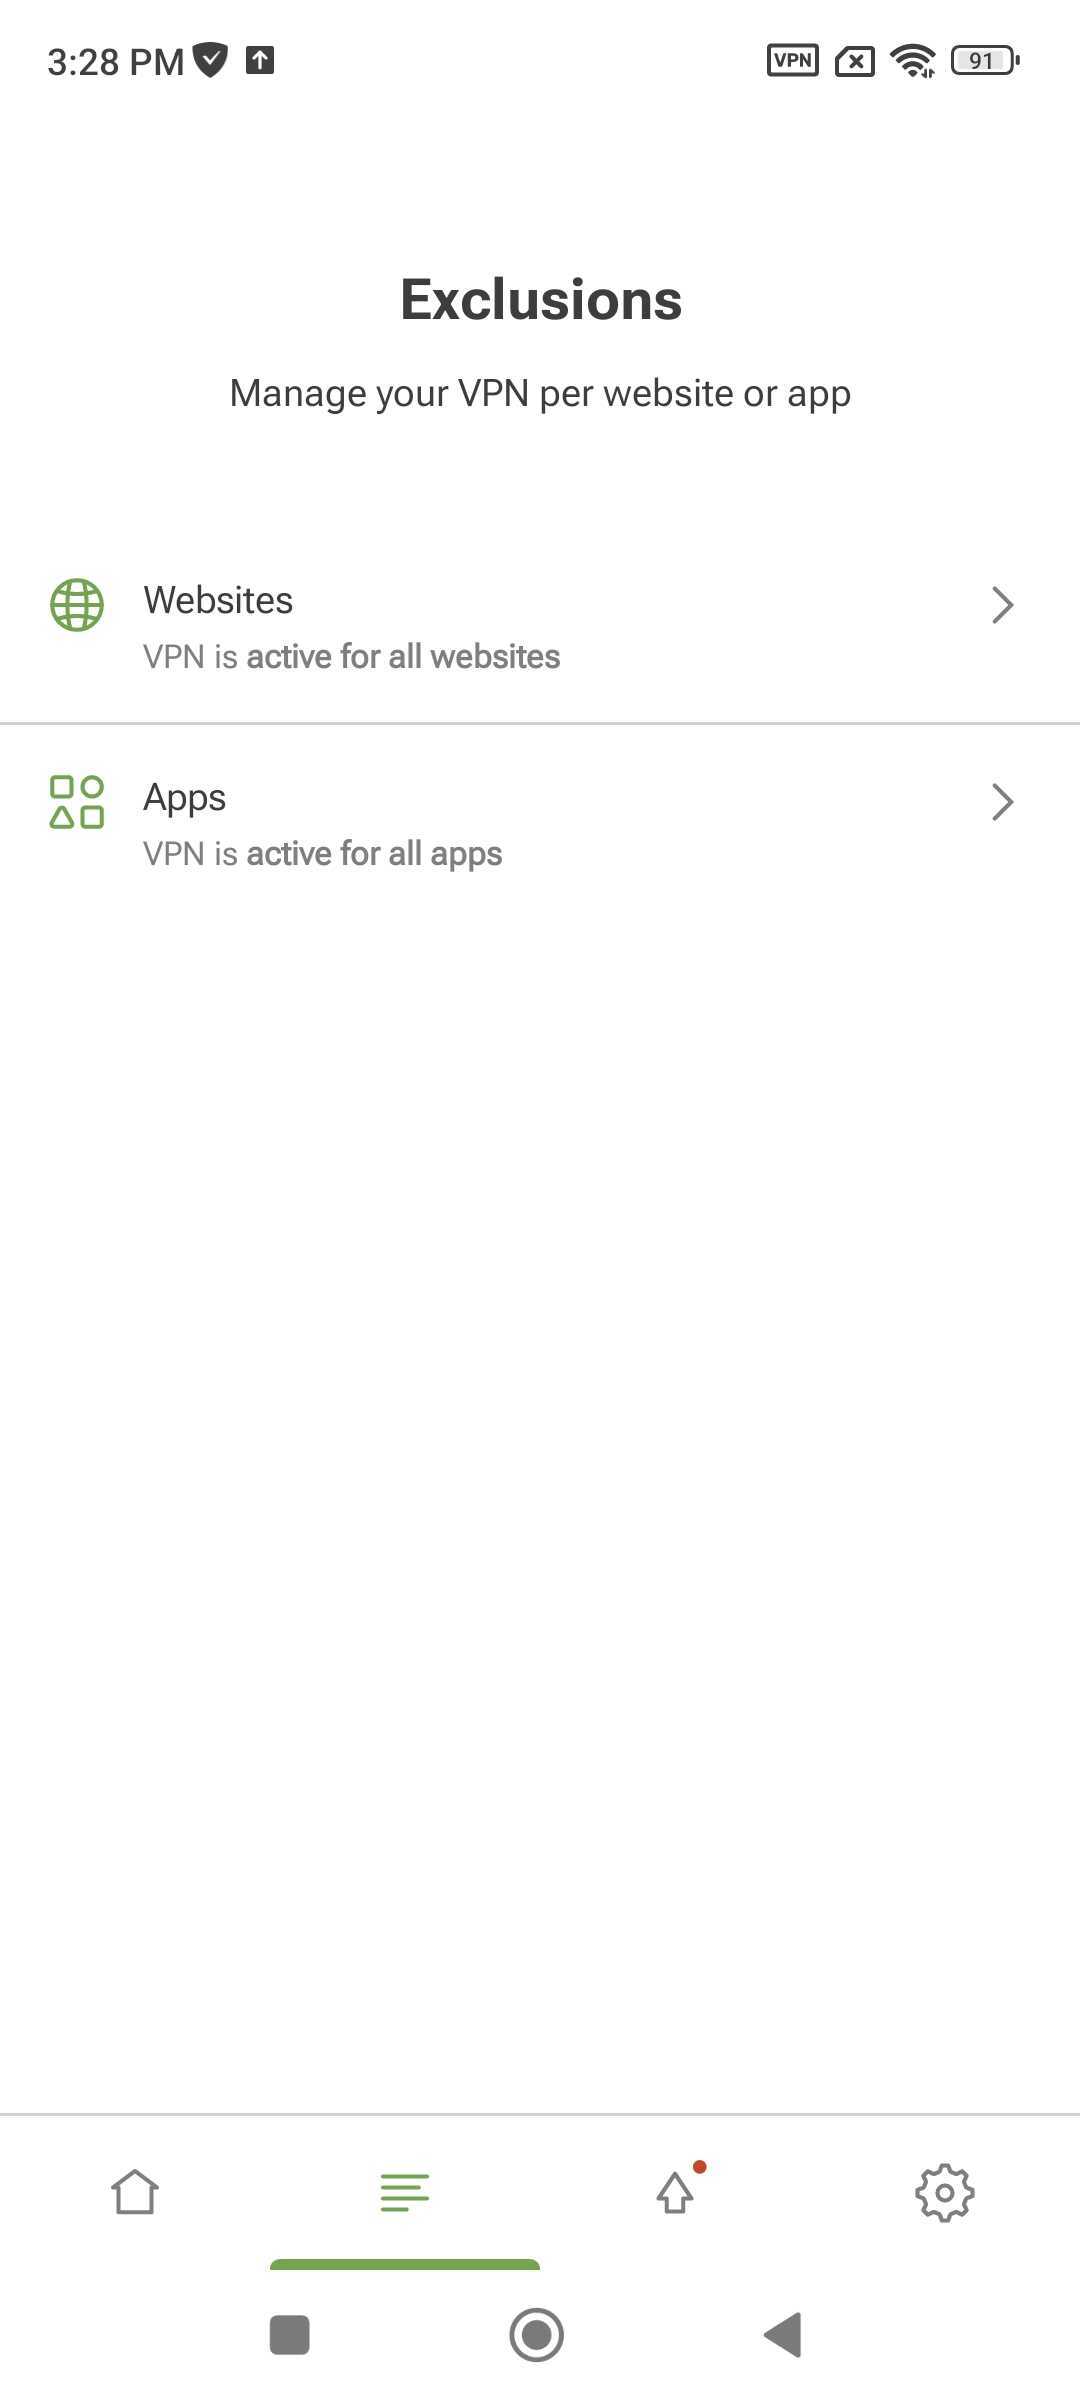
By default, AdGuard VPN works for all websites and apps except those added to exclusions: if you don’t specify an app or website, VPN will be active for them. You can also turn it on selectively — only for specified apps or websites. To switch to this mode, tap Change mode.
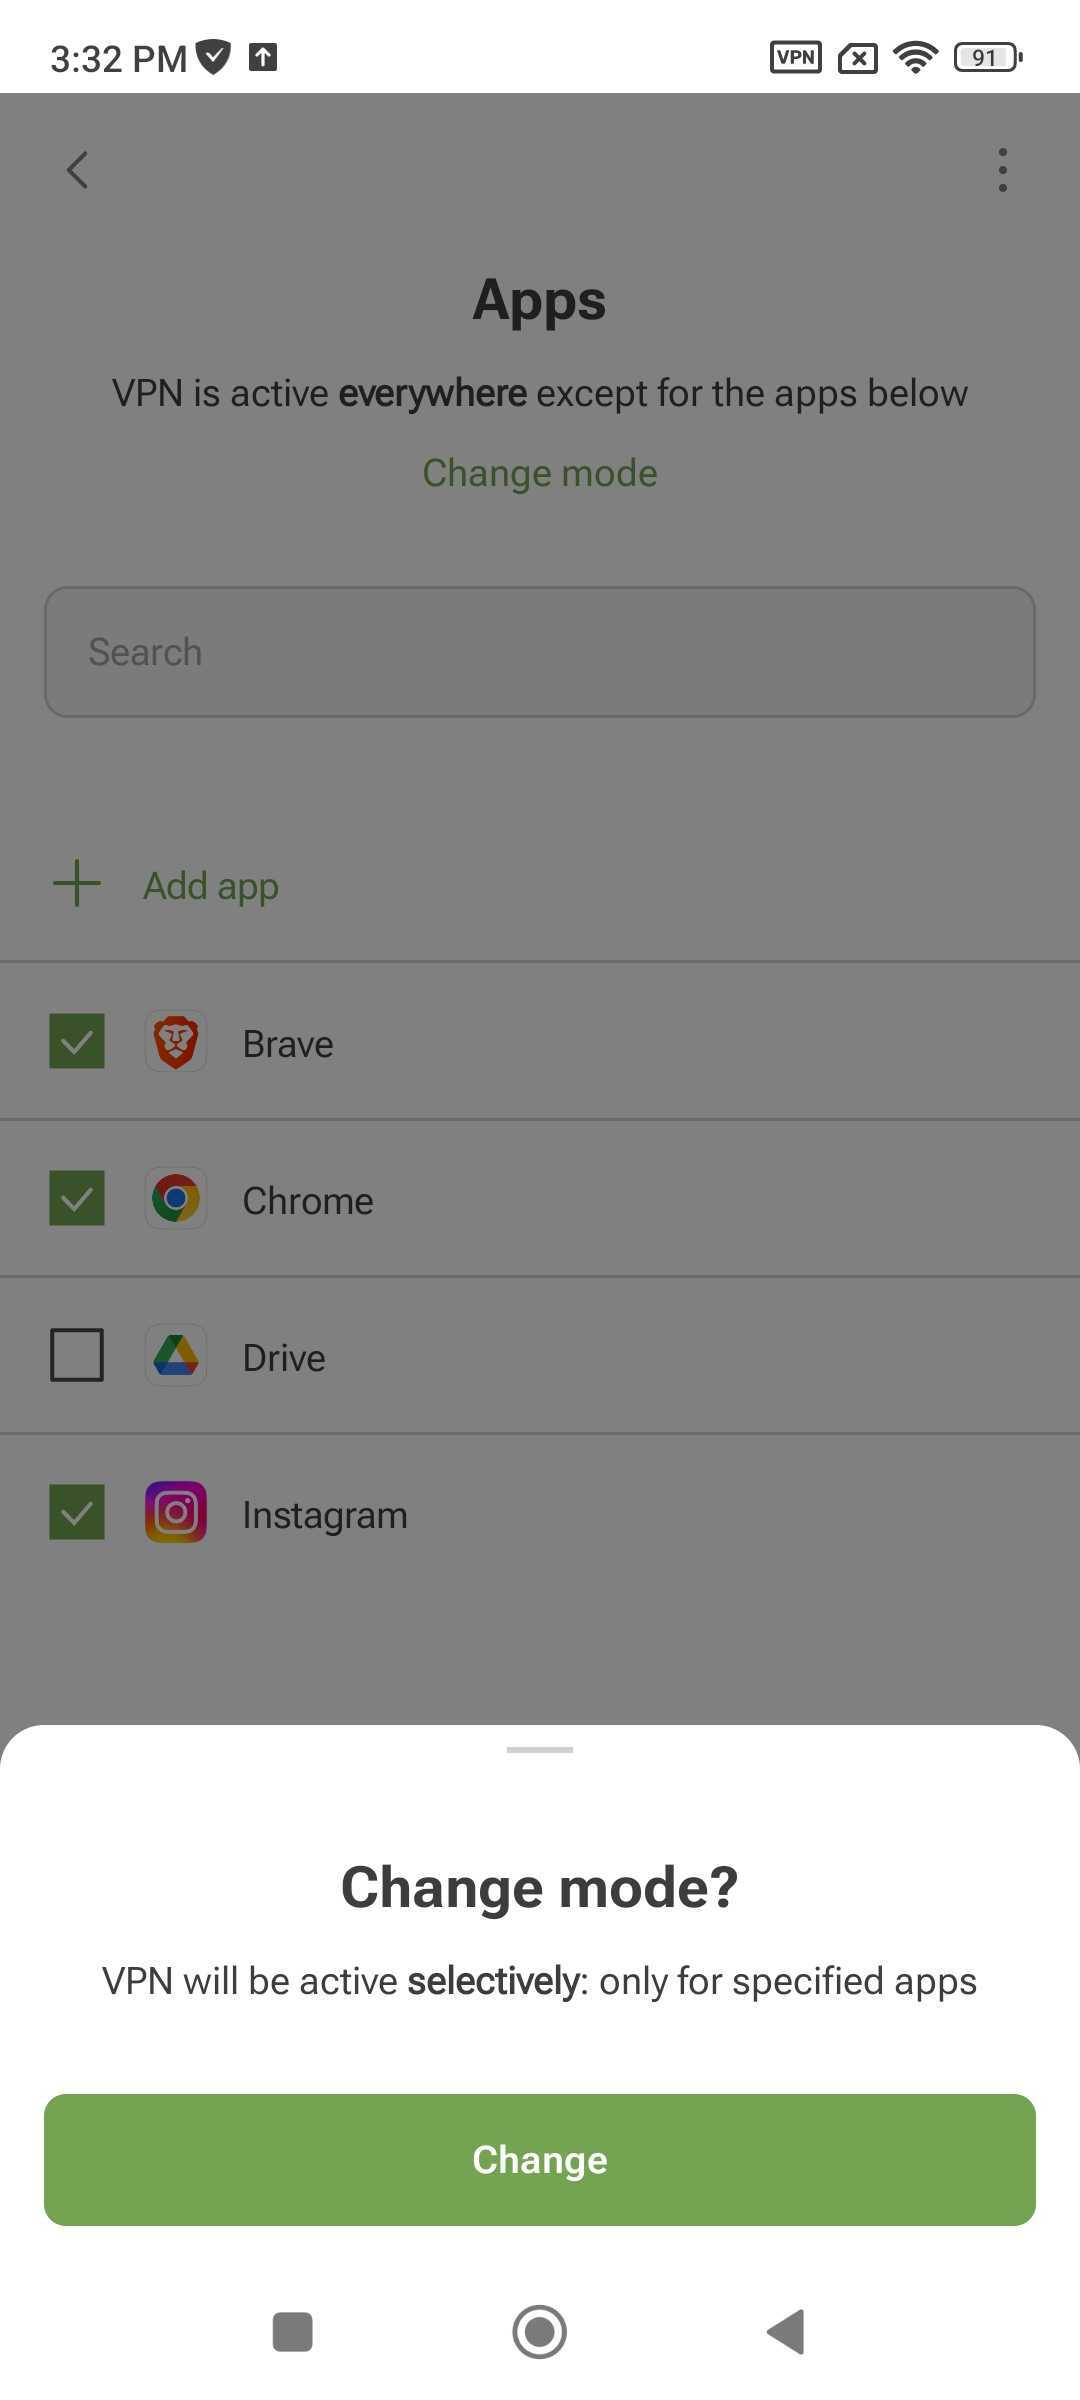
Be careful when using your VPN selectively.
If you exclude a browser from the VPN tunnel, website exclusions won’t work for it.
If you switch to this mode for websites, don’t forget to add the domains of the apps you want to use — for example, facebook.com for Facebook.
Websites
You can add a domain (e.g., google.com) or subdomain (e.g., *.google.com) to exclusions in three ways:
- Enter it manually in the app
- Add it directly from the browser by sharing the website with AdGuard VPN
- Add it from a built-in list of services
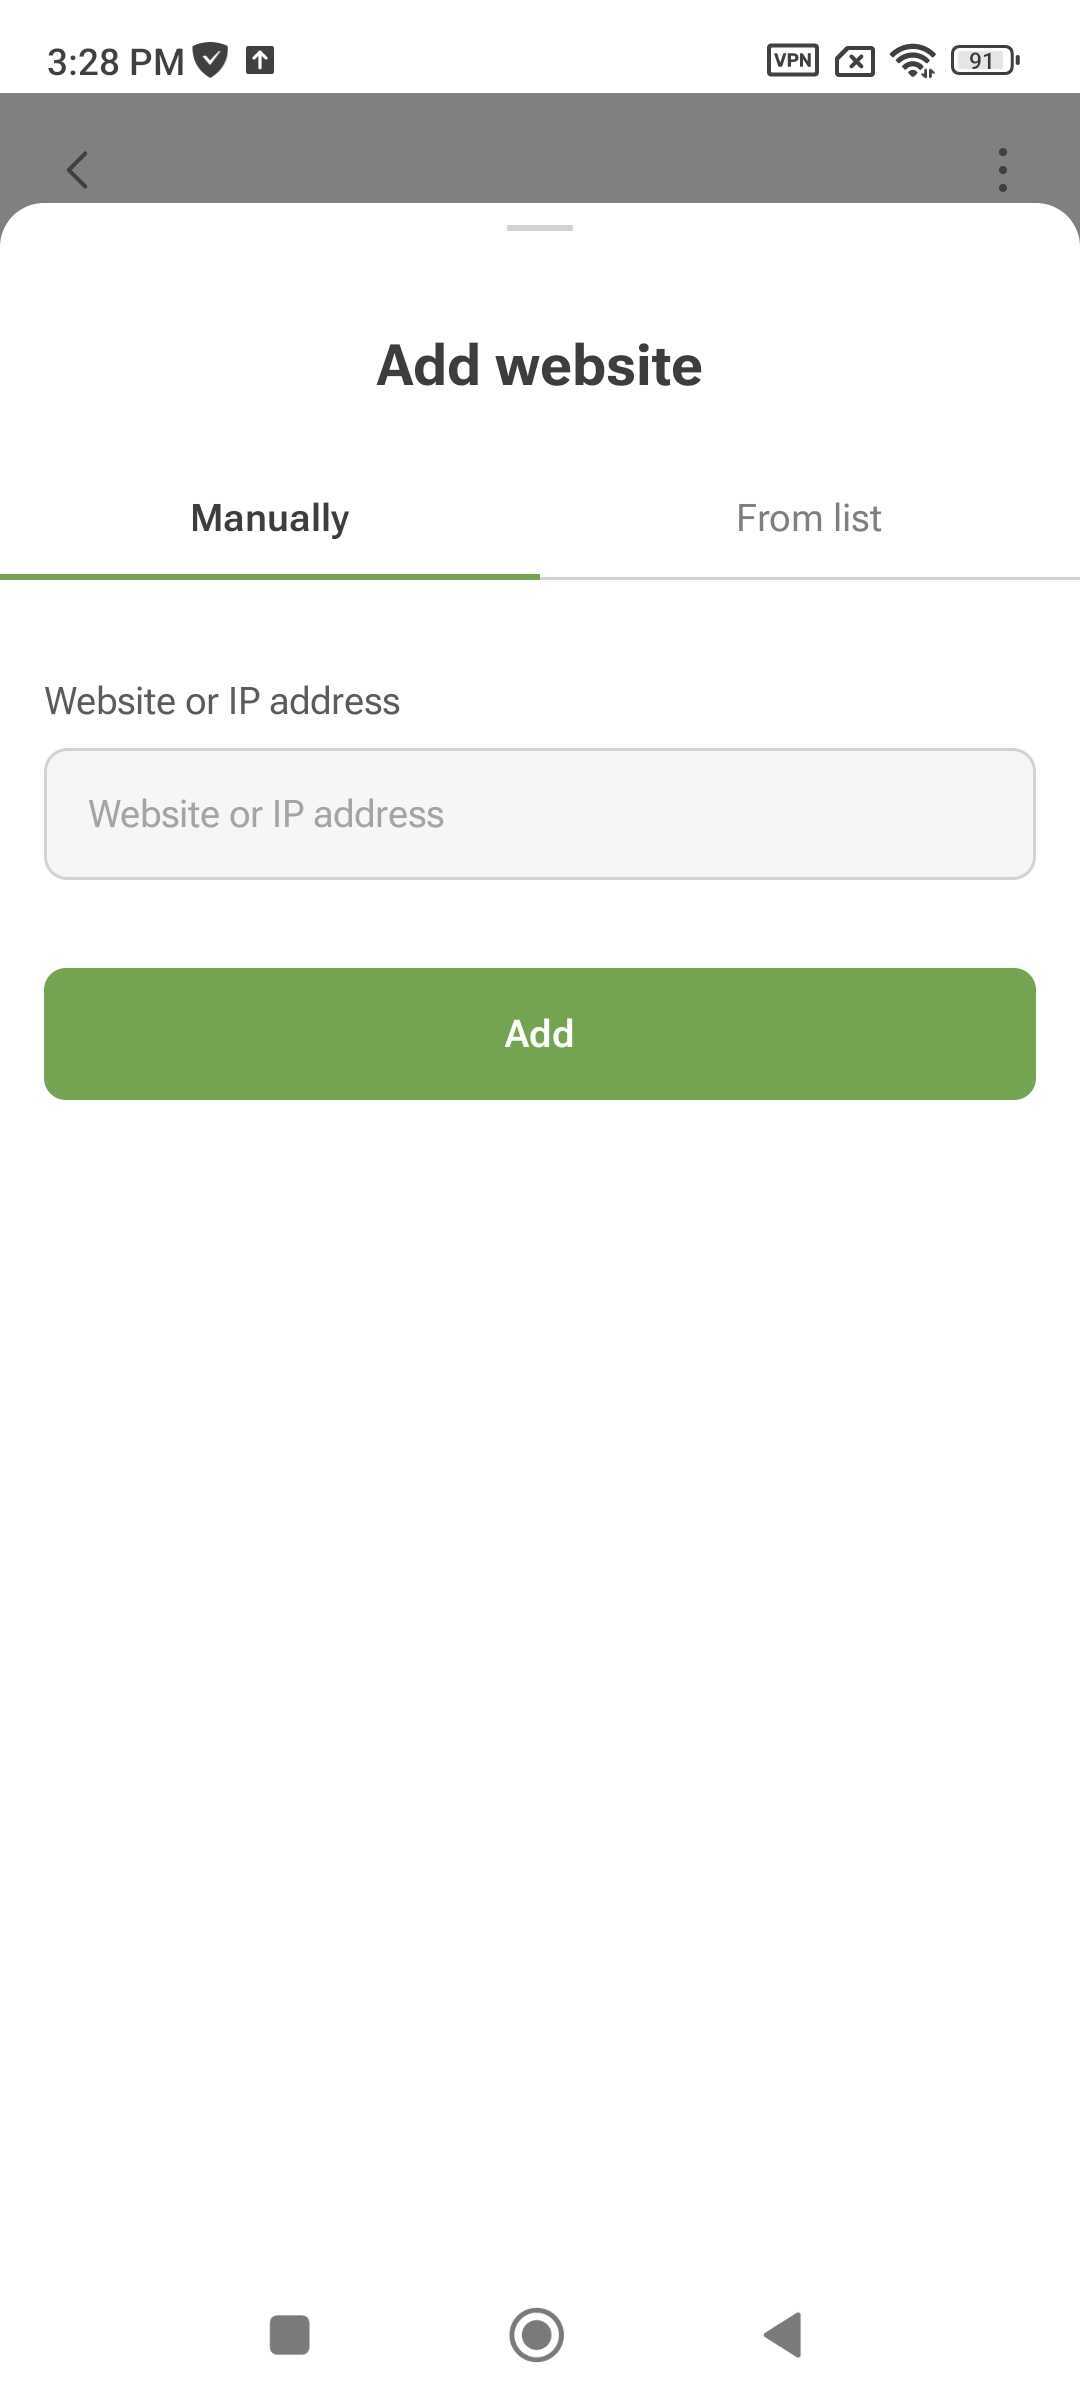
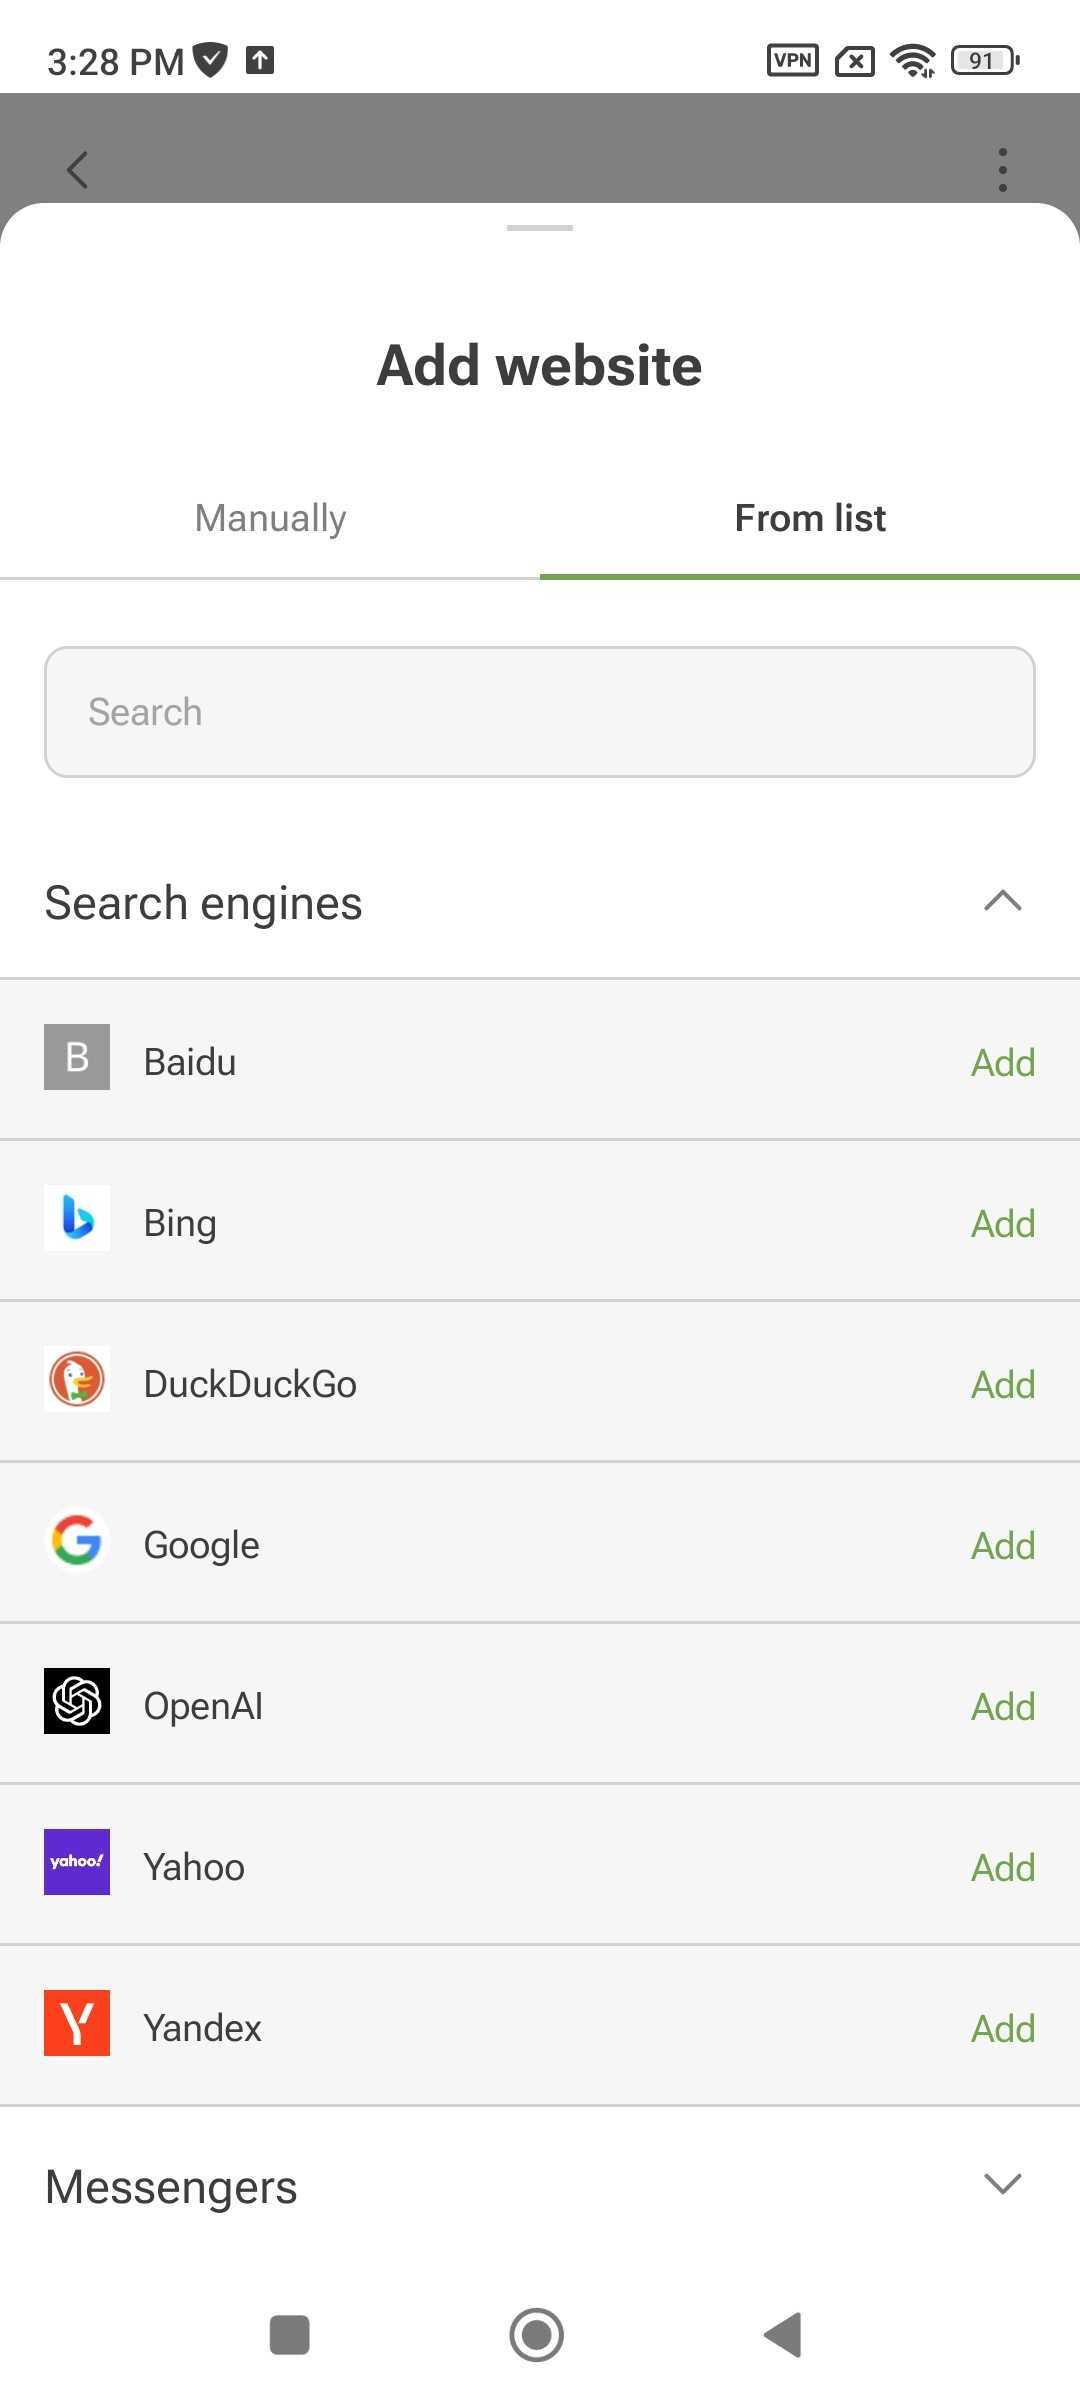
There are some nuances to manually adding domains. For example, if you manually exclude the domain yahoo.com, all *.yahoo.com subdomains will also be listed in exclusions. However, domain names with other top-level domains, such as yahoo.jp or yahoo.fr, will not be excluded.
If you add youtube.com to exclusions, the domain of the same service youtu.be won’t be added. In this case, it’s safer to use the built-in lists of services. They contain all the subdomains associated with each platform.
Since you can enable subdomains in service lists, we added boxes that reflect the status of each service:
- Fully enabled is indicated by a white check mark on a green background
- Partially enabled (enabled subdomains without the main domain) is marked with a green square on a white background
- Fully disabled is marked with a blank checkbox
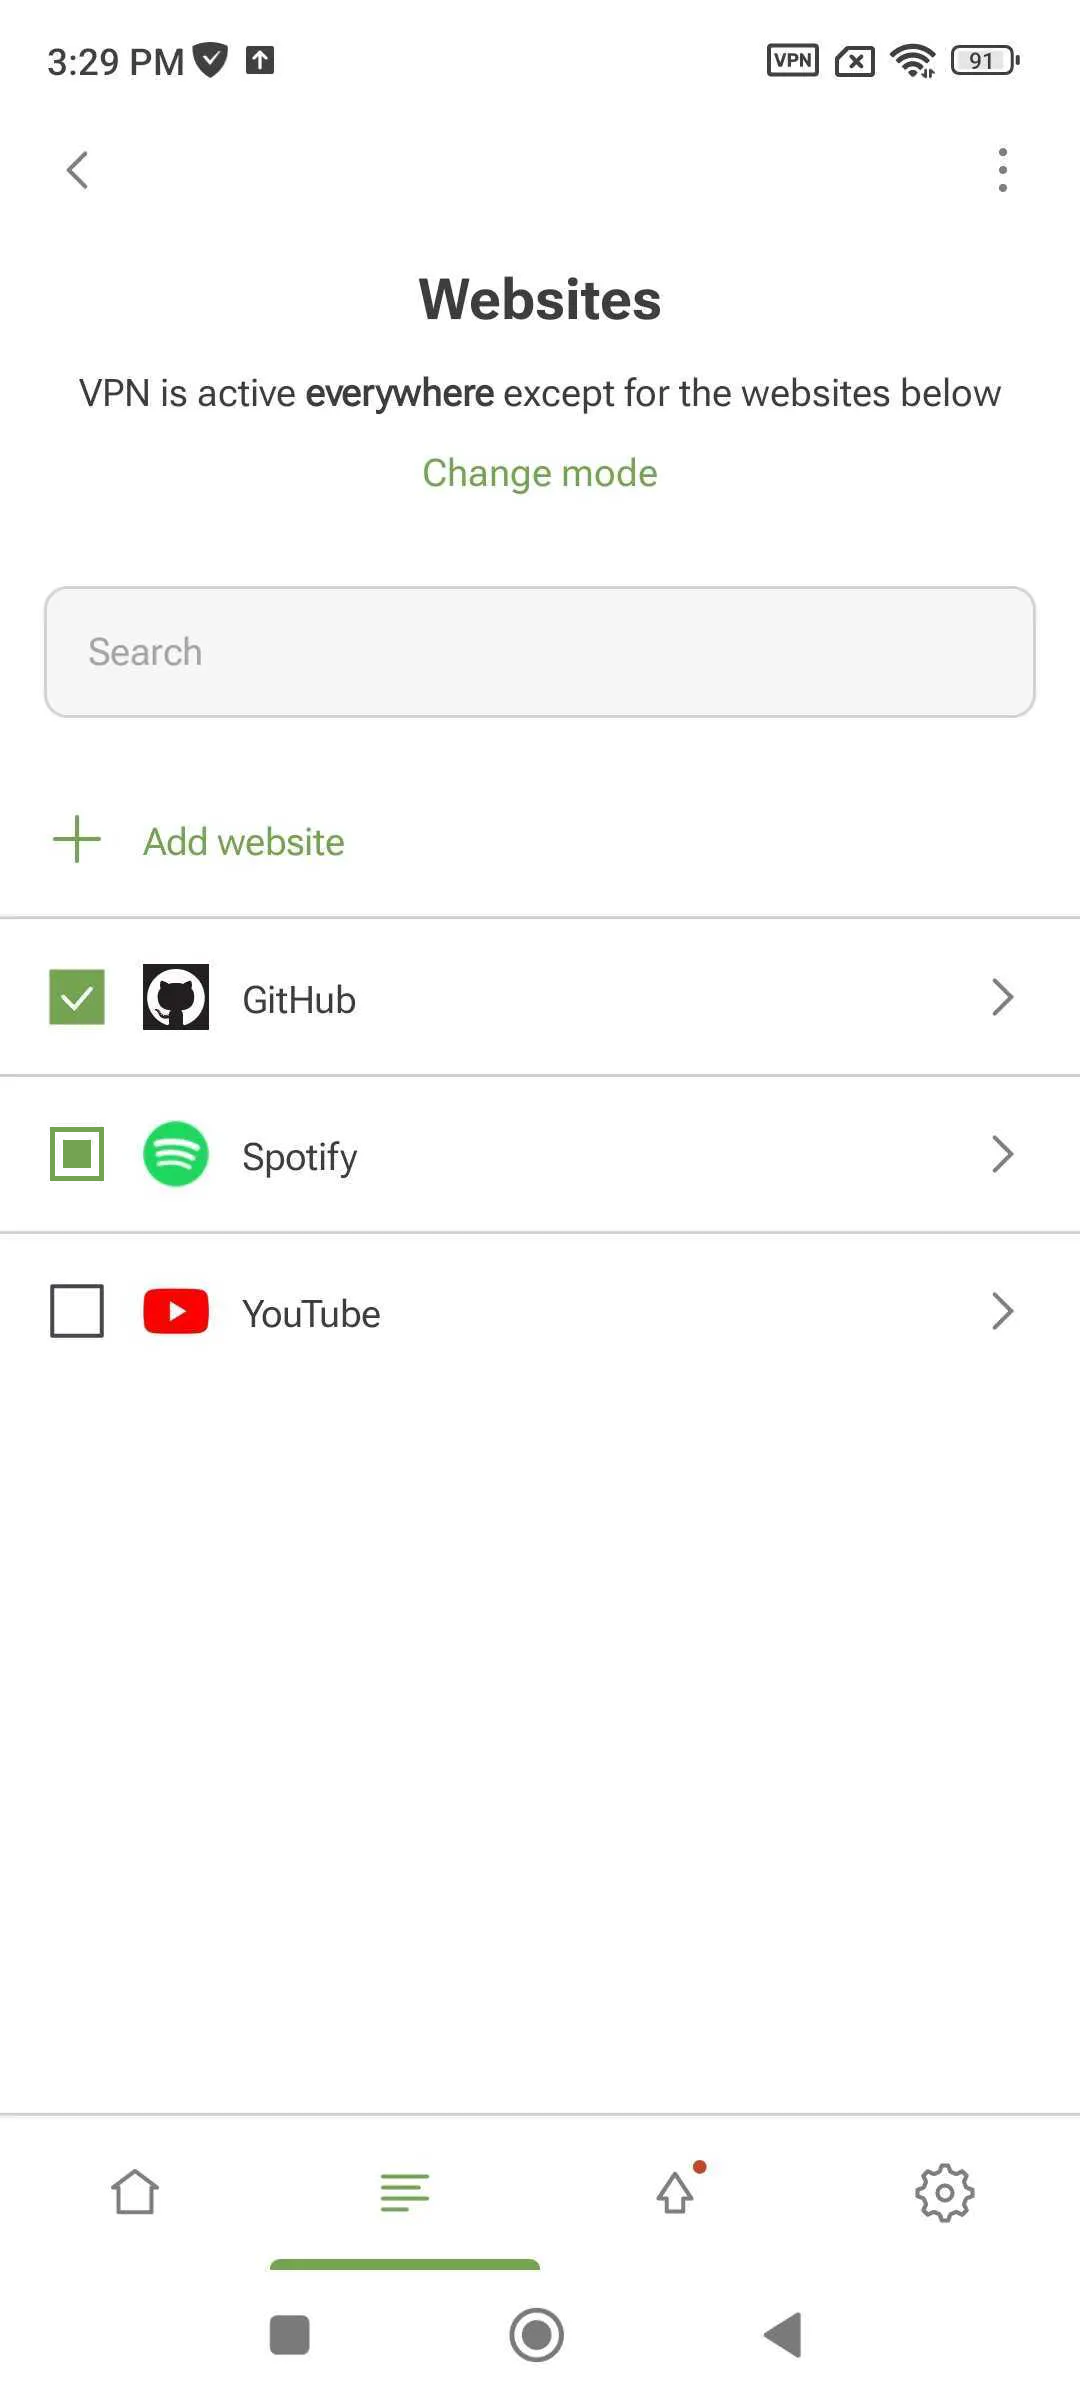
If you’ve accidentally deleted a domain or subdomain, just tap Reset to default.

Apps
You can also manage VPN for apps. To exclude an app from the VPN tunnel, tap Add app. To use VPN selectively, tap Change mode.

In Integrated mode, you can only manage apps through AdGuard Ad Blocker.
Settings
You can reach Settings by pressing the gear icon at the bottom right of the screen.

General

In General, you can manage basic AdGuard VPN settings:
- Launch AdGuard VPN at system startup
- Select a DNS server to encrypt traffic and block ads when connected to VPN (we recommend using AdGuard DNS)
- Enable Kill Switch to protect your privacy and disconnect from the Internet if the VPN connection drops
- Select a color theme
- Enable anonymous crash reports to notify developers about app issues
Advanced

The Advanced section is a set of settings that are not as commonly used.
Operating mode allows you to specify how your traffic is routed. There are three modes: VPN, SOCKS5, and Integrated mode. In the VPN mode, all traffic is routed through AdGuard VPN. In the SOCKS5 mode, AdGuard VPN runs a local proxy server that can be used by other apps for traffic routing. Integrated mode allows AdGuard VPN and AdGuard Ad Blocker to work together.
Some AdGuard VPN features are disabled in Integrated mode: DNS servers, Kill Switch, and App exclusions. You can manage DNS protection and route apps through your AdGuard VPN proxy in the AdGuard Ad Blocker app.
Logging level specifies how many app events are recorded. We don’t recommend enabling the Extended or Extreme logging levels unless requested by our support team.
In this section, you can also export logs and system info to share them with support.
Diagnostic data displays the locally stored technical information about the app, device, and connections. You can copy and send it to our support team if necessary.
The last section of Advanced settings is Low-level settings. We urge you not to enter this section unless you are highly qualified or have been asked to do so by our support team. Here it is possible to enable TUN interface logging or IPv6 protocol on the VPN interface, choose a proxy server port or Internet protocol version that should be used.
In the Preferred IP version option, before you choose between IPv6 and IPv4, make sure that your network supports that protocol. For example, if you select IPv6 and your network only supports IPv4, you will have problems connecting to the Internet. And vice versa.
Support
In the Support section, you can check out our FAQ to get quick answers to your questions, report bugs, and suggest new features.
